If you’ve accidentally cut or injured the tip of your finger, knowing how to properly apply a bandaid is essential. It might seem like a simple task, but the unique shape of the fingertip can make a secure and comfortable application tricky. This guide will help parents, first-aid learners, and caregivers master the skill quickly and effectively.
Why Bandaid Application Matters for Fingertips
The tip of your finger is constantly in motion—whether typing on a keyboard, gripping objects, or completing other daily tasks. A poorly applied bandaid can peel off, cause discomfort, or prevent proper healing. A snug, well-placed bandaid ensures protection from dirt and germs, maintains secure coverage, and helps the wound heal faster.
Steps to Put a Bandaid on the Tip of a Finger
Follow these simple steps to effectively cover and protect your injured fingertip:
1. Clean the Wound
- Wash your hands with soap and water to minimize the risk of infection.
- Gently rinse the injured fingertip under clean water to remove any dirt or debris.
- Dab the area dry with a clean towel or tissue.
- If needed, apply an antiseptic to the wound for added protection.
2. Choose the Right Bandaid
- Opt for a flexible fabric bandaid. These are ideal for fingers as they mold to curves and movements.
- If available, you can use “finger-specific” bandaids designed for better fit and coverage.
3. Prep the Bandaid
- Remove the bandaid from its wrapper carefully to avoid contaminating the adhesive.
- For regular bandaids, cut a small slit at each end of the adhesive strips. This creates flaps that help wrap around the finger tip snugly.
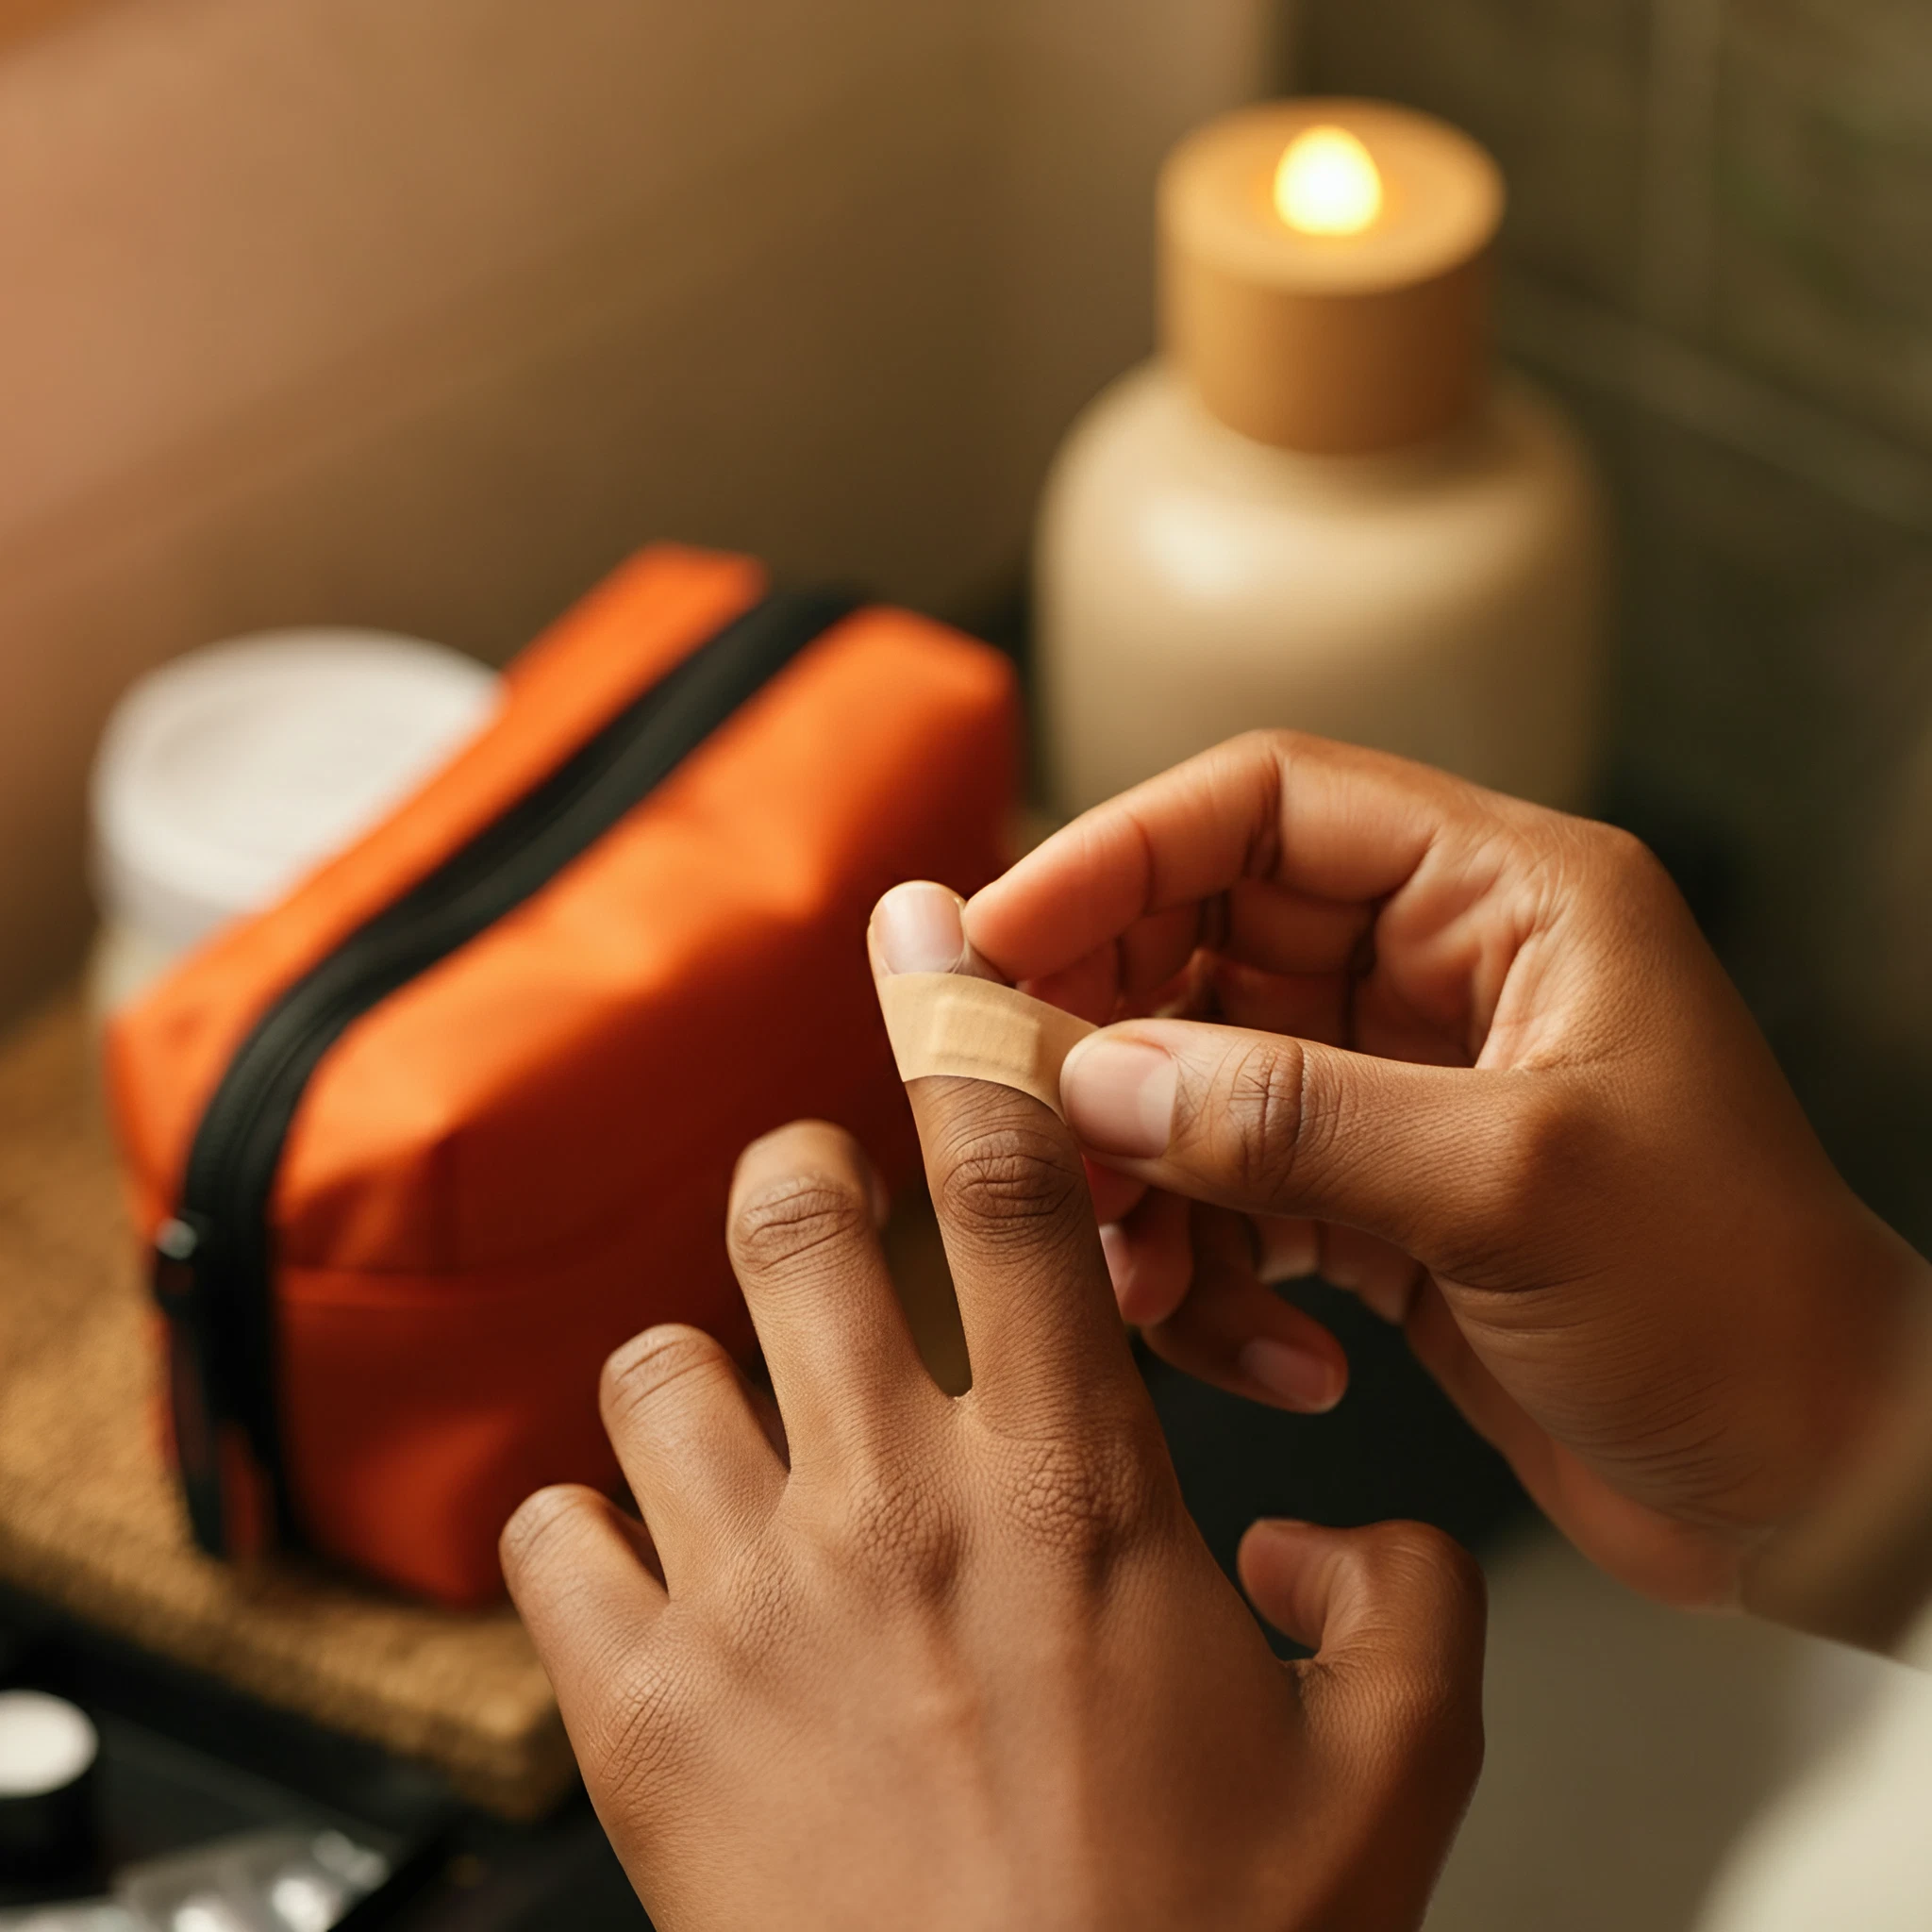
4. Cover the Wound
- Position the padded center of the bandaid directly over the wound. Ensure the wound is completely covered to avoid exposure.
- For extra security, stretch the bandaid slightly as you place it around your finger.
5. Secure the Edges
- Wrap the adhesive ends around the finger, overlapping underneath for a firm grip.
- Press down gently on the edges to make sure they stick securely.
6. Reinforce for Fingertip Use
For added durability, follow one of these techniques:
- Crisscrossing Method:
- Adjust the bandaid at slight angles, crossing the adhesive strips over one another to fully cover and hug the roundness of the fingertip.
- Double Bandaid Approach:
- Apply a second bandaid from the opposite angle for more coverage and less shifting during finger movements.
Additional Tips for Comfort and Effectiveness
- Change the Bandaid Regularly:
Replace the bandaid at least once daily or when it becomes wet or dirty to ensure hygiene and continued protection.
- Prevent Moisture:
Wet bandaids can easily peel off. Wear disposable gloves or a plastic covering when exposing your hands to water (e.g., washing dishes).
- Avoid Tight Wrapping:
Don’t fasten the bandaid too tightly, as it may restrict blood flow to the fingertip.
- Consider Liquid Bandage:
For very small cuts, a liquid bandage can be an alternative option, as it creates a protective barrier without the need for adhesives.
By following these steps and tips, you can successfully apply a bandaid to the tip of your finger, ensuring both protection and comfort.
Protect and Heal with Confidence
Accidents happen, but with the proper technique, small injuries like fingertip cuts won’t interfere with your day. Knowing how to correctly put a bandaid on keeps you or your loved ones protected and back to full functionality in no time. Keep this guide handy for any future mishaps!